02/05/14, by Cate Seiser
Tools, Tips & Techniques
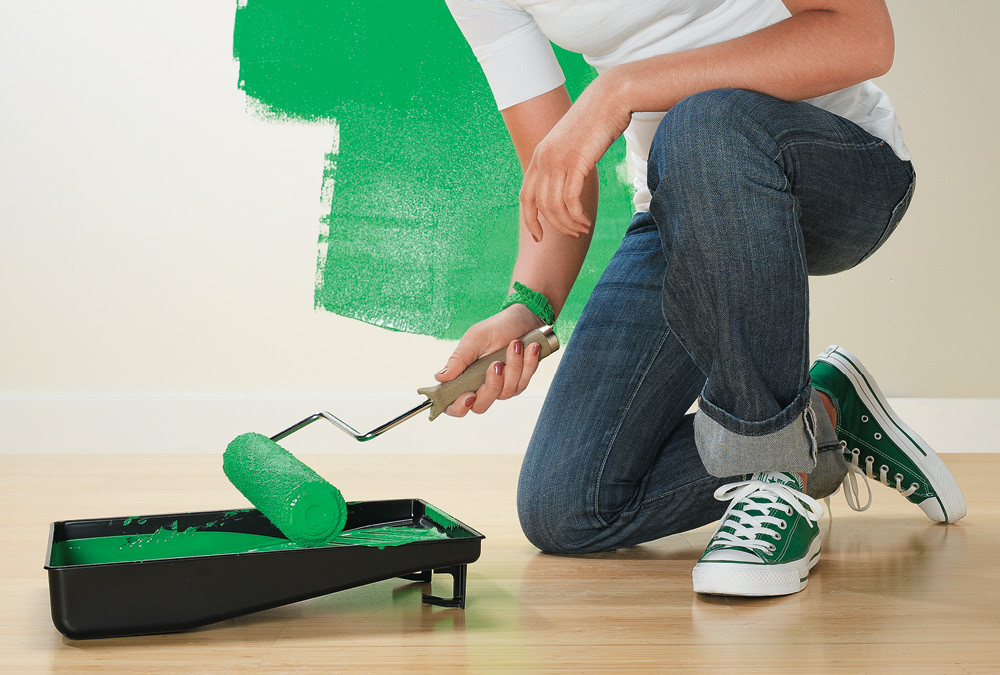
Earlier this week, we shared some great apps for choosing wall colors. Got a color picked out? Once you have good-quality paint in just the right color, you’re ready to get started transforming your room. Here are some tips and techniques to ensure your paint job goes smoothly.
• Choose Brushes. You’ll need brushes in various widths for narrow areas, as well as a sash brush with a clipped head (image a) for cutting in around doors, windows, and baseboards. The fastest way to identify a good paint brush is by its wood handle. It should also have soft, supple bristles, which will hold more paint and release a smooth, even line of paint with fewer brush strokes.

• Pick the Proper Roller. The thickness of the ideal roller depends on the type of paint you’re using. Here are the guidelines:
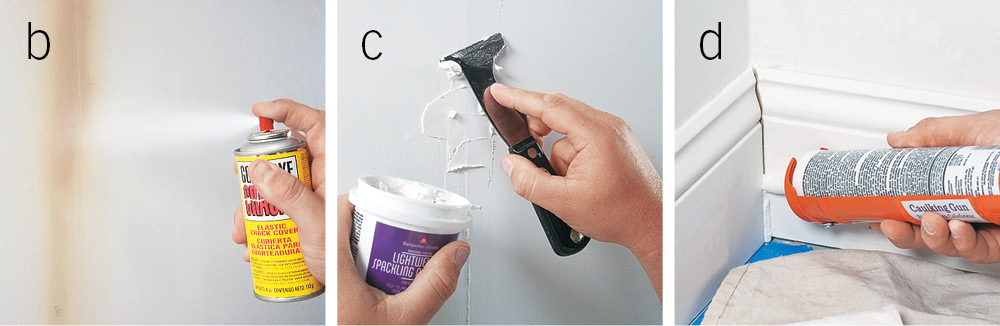
• Fix Holes, Cracks & Imperfections. A rubberized coating like Good-Bye Cracks (image b) will seal cracks; spackle is your go-to for filling holes (image c); and caulk takes care of gaps in molding and trim (image d).
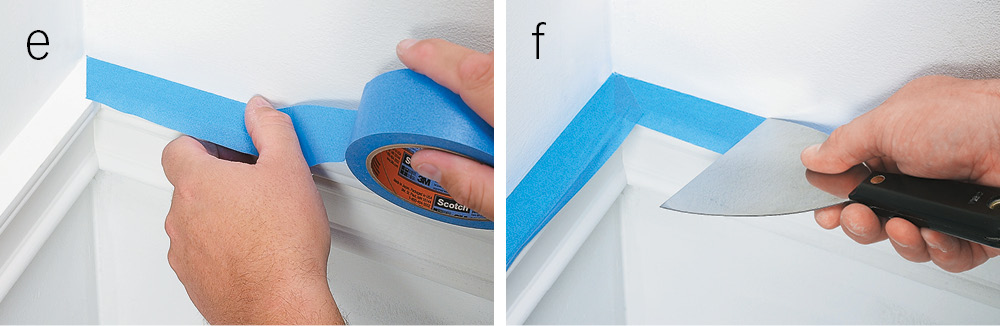
• Apply Painter’s Tape. Covering straight lengths of molding and trim to avoid getting paint on them is easy. To get into corners, you can simply cut angles or “miters” on two lengths of tape (image e), and have them overlap in the corner. Once you’re done, burnish the edge with a putty knife, so paint doesn’t seep under the tape (image f).
• Prime If Needed. Most of the time when you repaint a room, there’s no need to prime. If there are stains, or freshly patched cracks or holes, you can spot-prime these areas. It's a good idea to prime everything, though, if the walls haven’t been painted before or if you’re trying to cover up saturated colors.
Note that it’s better to paint as a two-person team: One person cuts in around the ceiling, corners, and trim. And as they finish a section and move down the wall, the second person rolls the area they just finished. This keeps a “wet edge” and ensures the brushed and rolled areas blend seamlessly.
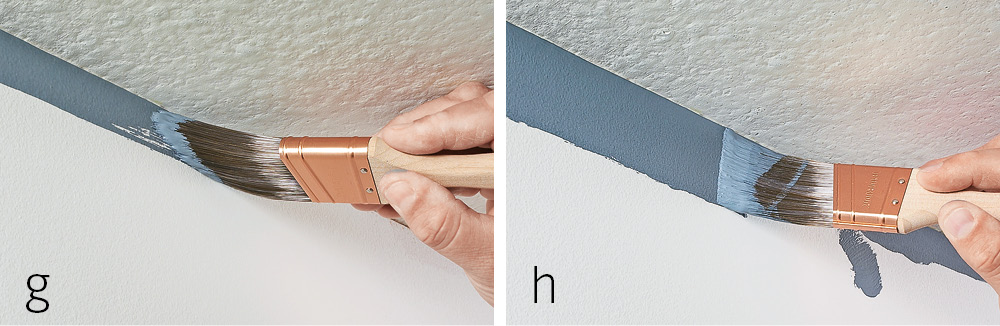
• Cut In Along Edges. Load the brush about 1" up the bristles, then wipe the excess paint off along the edge of the paint pot before moving to the wall. Hold the brush slightly away from the edge you plan to paint against, and brush gradually toward it, releasing a fine line of paint. Move toward the adjacent edge until you’re painting smoothly right alongside it (image g). Your first pass will likely have brush strokes, so make a second pass (image h).
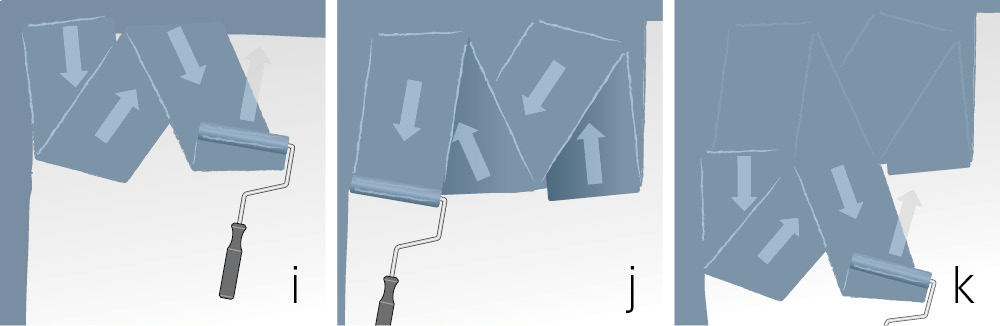
• Roll It on Right. The key to getting even coverage with a roller is to overlap strokes. Many experts suggest rolling in a “W-shaped” pattern, but it’s really more important that you overlap strokes rather than forming a perfect “W.” Also, don’t try to fill in too large of an area with a single loaded roller. Go back and forth over a 3'- to 4'-wide section, completely unloading the roller (images i and j). When you move on to the next section, roll back into the still-wet section you just painted (image k). The result is more uniform coverage across the entire wall.
• Give It a Second Coat. Once you’ve finished cutting in and rolling sections around the room, you’ll likely need to apply a second coat, and sometimes a third. Cutting in usually isn’t necessary when applying additional coats of paint.


