09/16/14, by Megan Steenson
DIY Projects
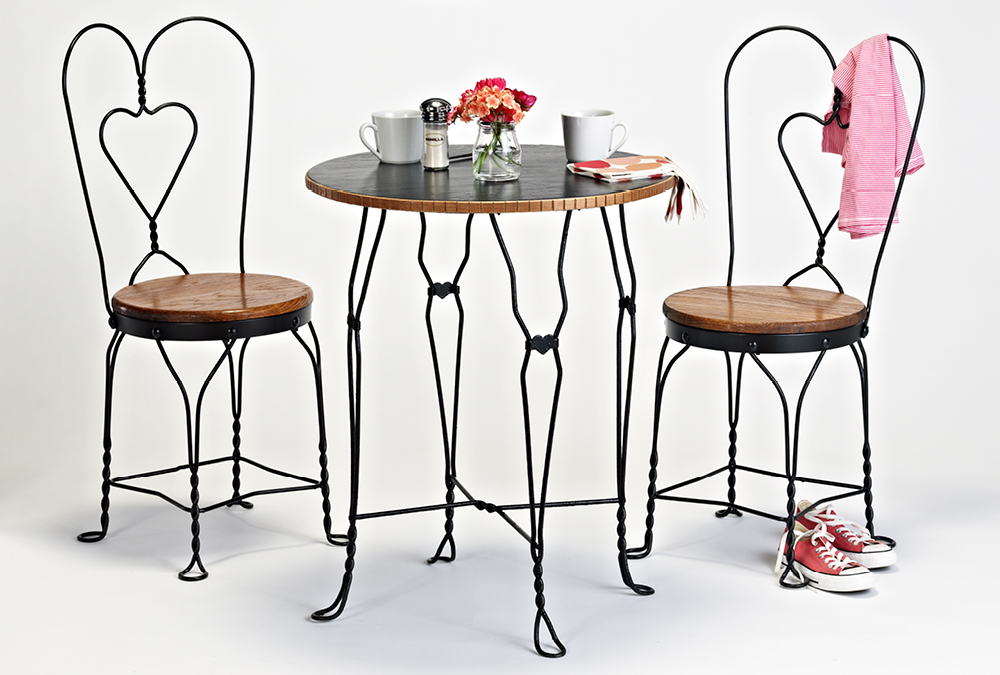
Metal-legged tables like this one (and the accompanying chairs), often called “ice cream parlor” furniture, are fairly common in antique and thrift stores. The sets’ small tables are the perfect size for two to four people, and their appearance will add charm to any space.
As is the case with most older furniture pieces, though, this particular table needed a bit of work to bring it up to the standards of a stylish space. Fortunately, some paint and a flexible molding product proved to be the perfect materials to do just that.
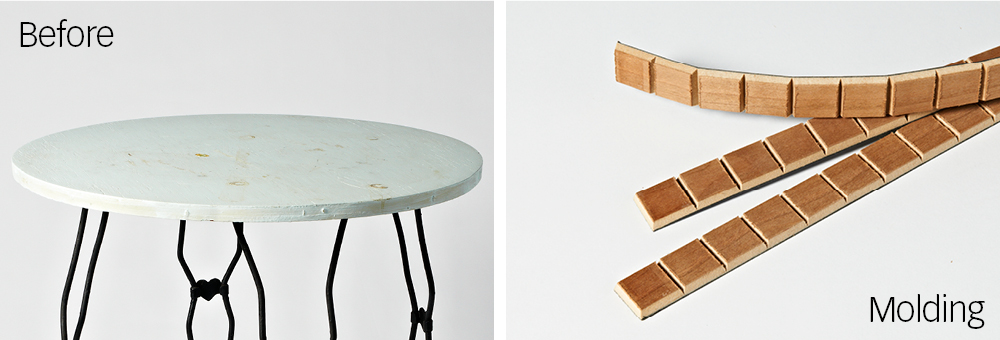
The top of the table was fairly plain, so the flexible dentil molding product (photo above) offered a great way to add interest to the edge. The molding is made up of small carved wood blocks that are attached to a backer. That means that this molding can be applied to gently curved surfaces such as this round-topped table (before photo above).
This piece was already painted, but the finish had seen better days. We decided a little makeover was in order. Task number one was a thorough cleaning to ensure that the paint would stick to the surface.
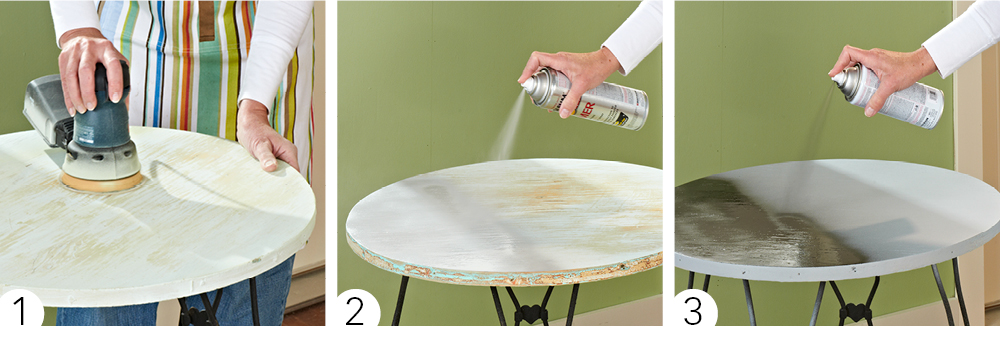
If your table has larger gouges or scratches, like this one did, you’ll need to fill them with wood filler. Then sand them flush with the surface once the filler is dry (photo 1).
Next, we used a spray primer that could coat both the wood top and the metal legs (photo 2). We left the seats with their original stained wood appearance, but the tabletop, legs, and chair frame got a fresh coat of spray paint (photo 3). We applied a few coats to ensure that we achieved an even finish.

After the paint was dry, we applied adhesive to the flexible molding and stuck it to the edge of the table (photo 4). Make sure that the molding is lined up, and then use a pin nailer to securely attach the strips (photo 5).
Since tables and chairs are subject to wear and tear, we wanted to protect the whole set with a spray-on clear coat (photo 6). The clear coat also darkened the flexible molding, so its color more closely matches the stain of the seats.
Once the clear coat was completely dry, the table was ready for a charming coffee set we had waiting in the photo studio!


