09/02/14, by Megan Steenson
DIY Projects
We loved the workstation in yesterday’s post so much, that we decided to use the idea for one additional project in our garage makeover.
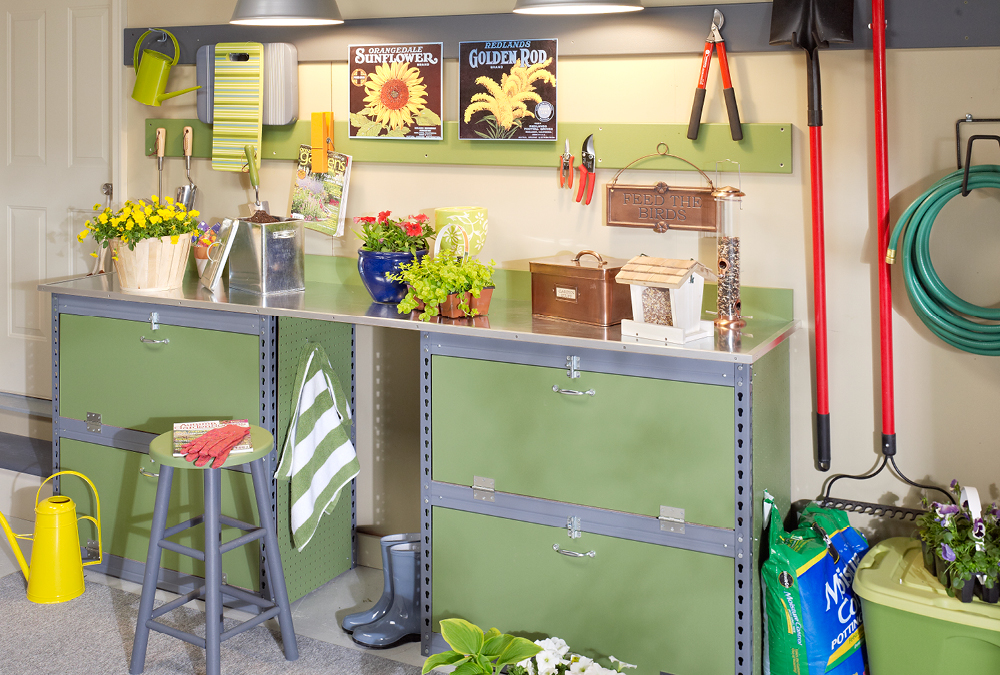
The garden center you see above combines the big-time space of the storage units and the ample work surface of the workstation into one handy unit. The result is a great place to pot plants — or handle just about any other project in your garage!
To make this garden center a manageable size, we decided to start with a smaller 18" x 36" x 72" metal rack.
As you can see, all you have to do is build the two “halves” of the storage rack just like you did with the workstation. Position one shelf near the bottom of each half, and a second shelf near the center.
You will have an extra shelf and an extra set of rail components left. We set aside the shelf, but we used the extra rails to stiffen the structure and provide a way to mount a large MDF top. To do this, position the two longer rails at the front of each unit, and the two shorter rails on the outward-facing sides of the units.
Next, add plywood doors and pegboard sides to both racks. The parts are slightly different sizes than those on the storage unit we built in last week’s eNote, but the steps for installing them are identical.
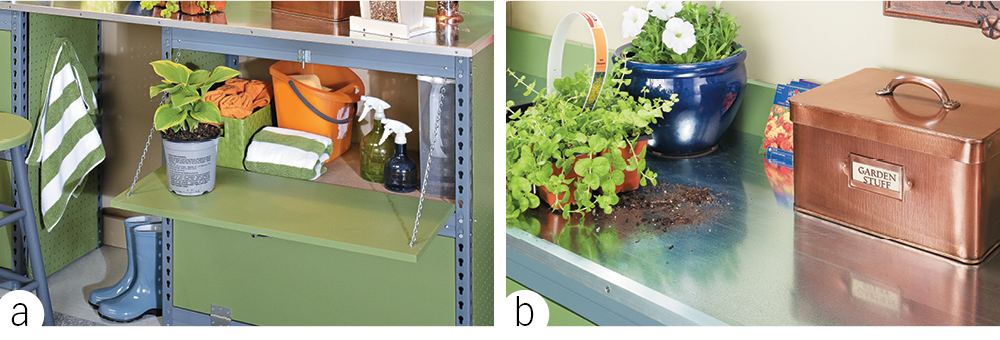
Though most of the details of this garden center are similar to the other units, there are a few subtle differences to note. One of these is the space between the two racks in the middle. We found this area handy for extra storage (photo a).
The size of this unit calls for a larger top panel. You can make it by cutting a sheet of medium-density fiberboard to size. For an added bit of “wow,” we covered the top with a piece of aluminum flashing that we mounted with heavy-duty spray adhesive (photo b). This makes it easy to clean soil off the top.
Finally, pieces of aluminum angle get screwed to the front edge and ends of the top to finish the center in style.


