09/23/14, by Megan Steenson
DIY Projects
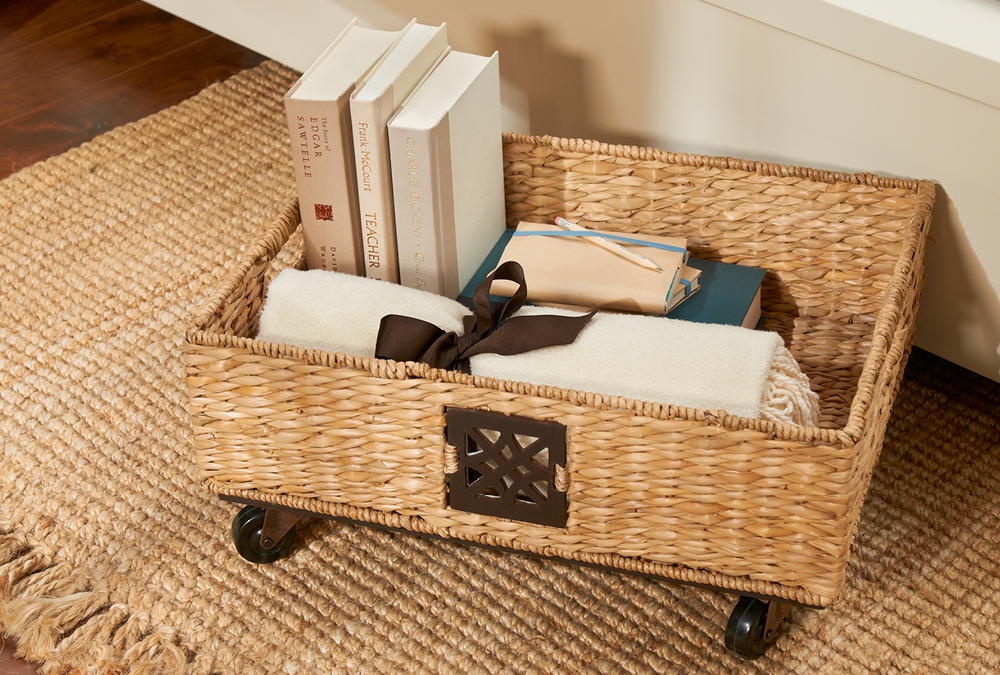
It’s easy to add storage and style at the same time. By gluing casters to a basket, you’ll create a cute storage spot that rolls wherever you need it!
First, get a basket that’s the right size for your needs. Then cut a piece of plywood to the same size as the bottom of the basket, and stain or paint the plywood.
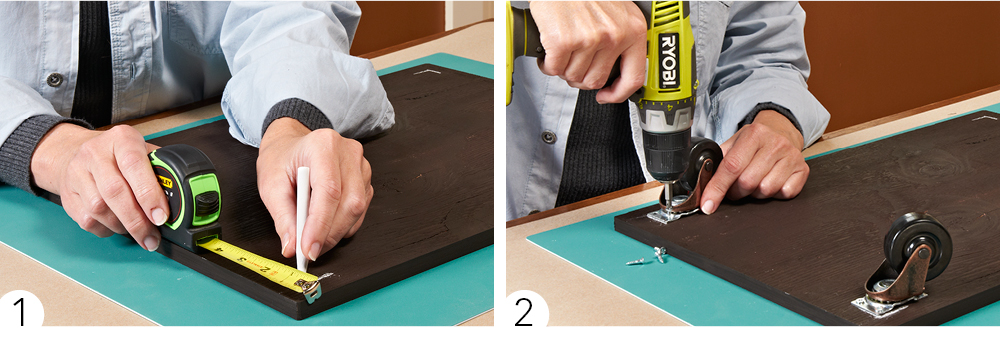
Once the finish on the base piece is dry, you can mark the position of the casters using chalk or a colored pencil (photo 1). We purchased our casters at our local home center, but you can also order them online from Lowes.com. Then pre-drill holes, and screw the casters in place (photo 2).
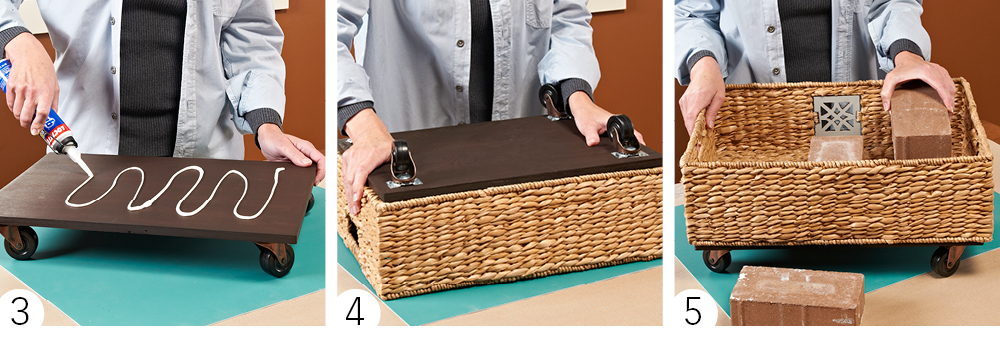
Now you’re ready to attach the base to your basket. Apply a generous amount of construction adhesive to the top side of the base to ensure a strong connection (photo 3).
Position the base over the bottom of the basket, and press it in place (photo 4). It’s a good idea to weigh down the basket (as we did with bricks in photo 5) as the adhesive sets up.
Once the adhesive is dry, you’re ready to load up the basket with books, blankets, and anything else you’d like to keep close at hand. The rolling basket can be moved from room to room to provide storage wherever you need it!


