08/11/14, by Megan Steenson
Decorating Inspiration
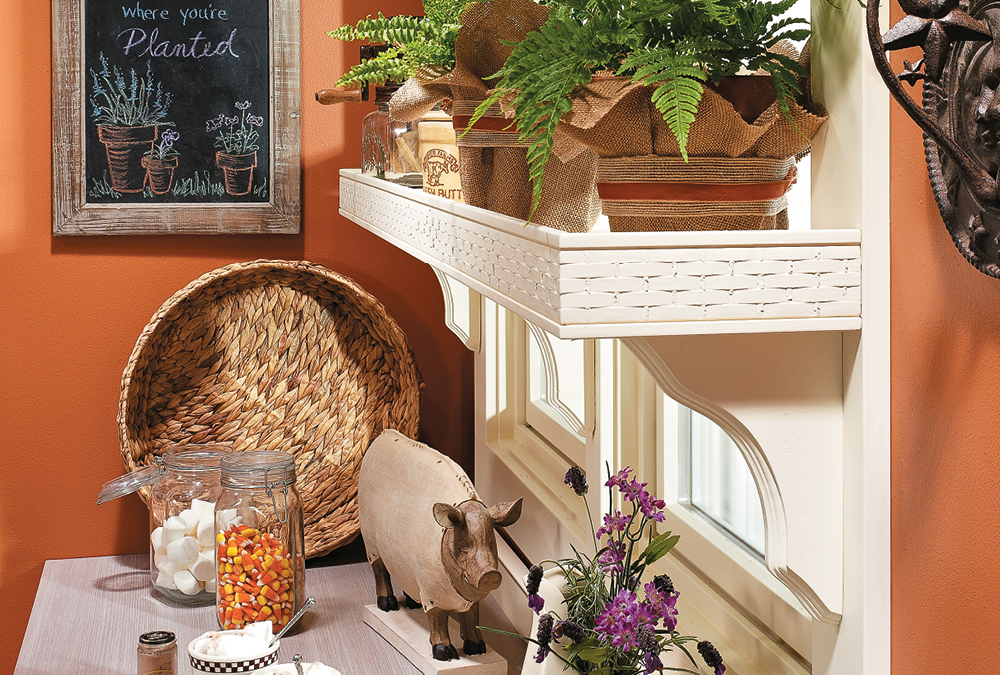
In the current eNote, we walk you through the steps to create a simple shelf project that adds a lot of style to your room (photo above). If you love the idea of adding a window shelf to your room, but aren’t quite sold on the style we used in the eNote, you’re in luck! We’ve put together three shelf design options that fit any home.
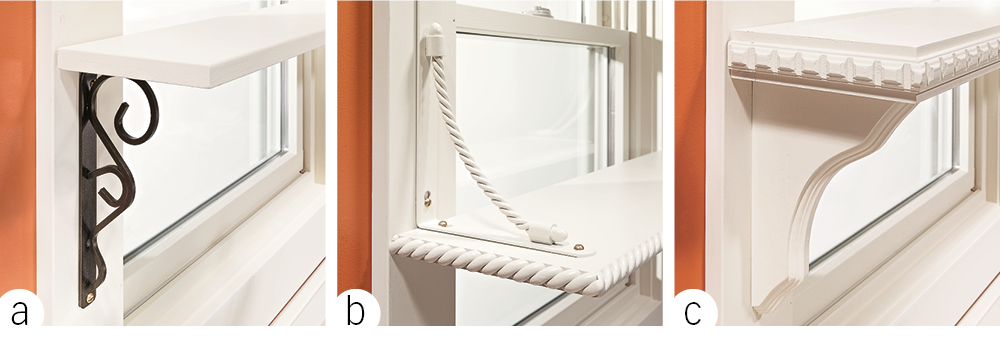
Up first is a bracket style switch (photo a). It’s surprising to see how different this shelf looks from the one above, and it only required a couple of easy changes. Instead of wood brackets, we chose elegant metal ones. Home centers and online retailers offer plenty of bracket choices. We also decided to omit the edging from this design option to give it a simple and sophisticated style.
Next we tried top-mount brackets (photo b). Instead of mounting the shelf’s brackets below the shelf board, we screwed them to the top instead. This design option turns the brackets into a prominent style element on the shelf. The narrow molding that we picked for the edging has a rope motif that complements the brackets. We also painted the brackets to match the shelf and window trim.
Finally, we wanted an extra-thick shelf (photo c). Customize your shelf project by doubling the thickness of the base. You can do this by gluing two boards face to face, which creates a stronger, substantial-looking shelf. Then glue on pieces of narrow molding to cover up the seam between the boards. This option gives you a flat shelf surface with molding that’s purely decorative.
No matter which option fits your style, this project is the perfect addition to a window and boast tons of charm and storage space!


