06/30/14, by Megan Steenson
Decorating Inspiration
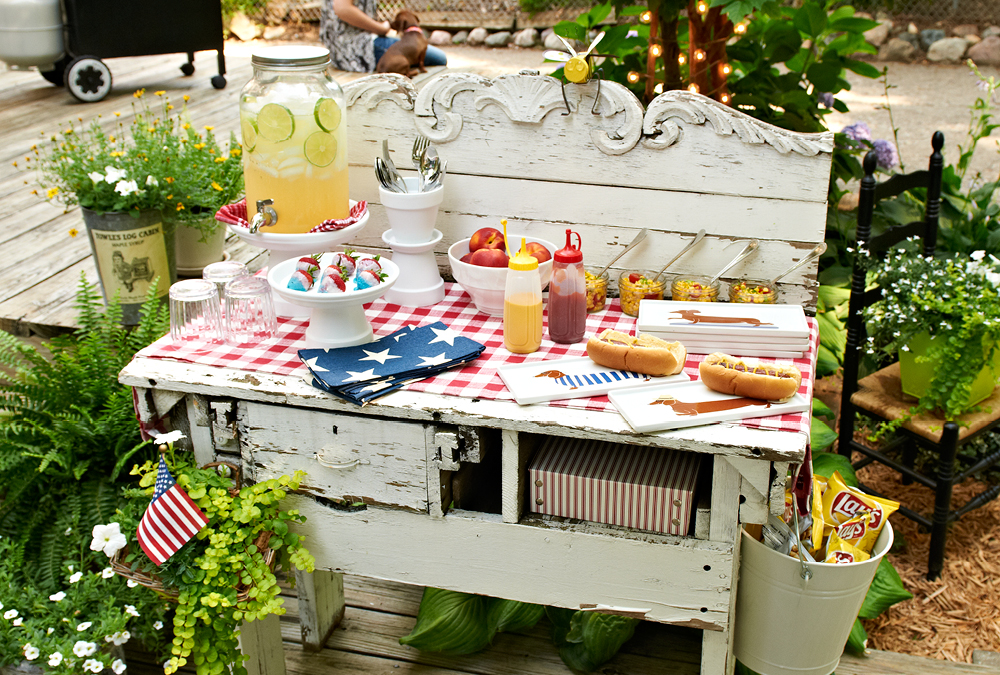
This Fourth of July party features easy and inexpensive details that make a big impact. A charmingly timeworn potting bench provided a rustic backdrop for the meal. And our do-it yourself terra-cotta pot serving stands were the perfect addition to the festive spread.
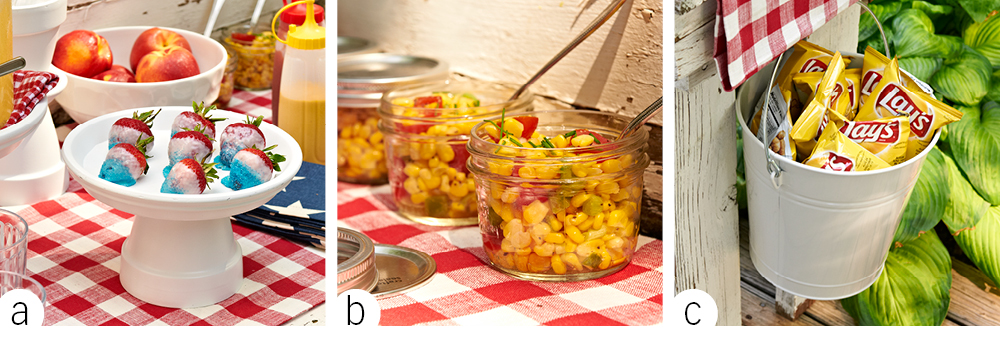
The buffet-style meal is set up in matching white serving pieces that let the colorful menu items stand out (photo a). The red-and-white table runner and star-spangled napkins contribute to the party’s upscale picnic ambience.
Mason jars come in many sizes, which can work to your advantage when you’re setting up a rustic outdoor gathering. We put these miniature jars to good use by filling them with individual servings of salad (photo b). Their lids make it easy to store the extras.
And when space is at a premium, it’s important to take advantage of every available space. We attached a couple of hooks to the side of the potting bench, and then used them to hang a bucket full of snacks (photo c).
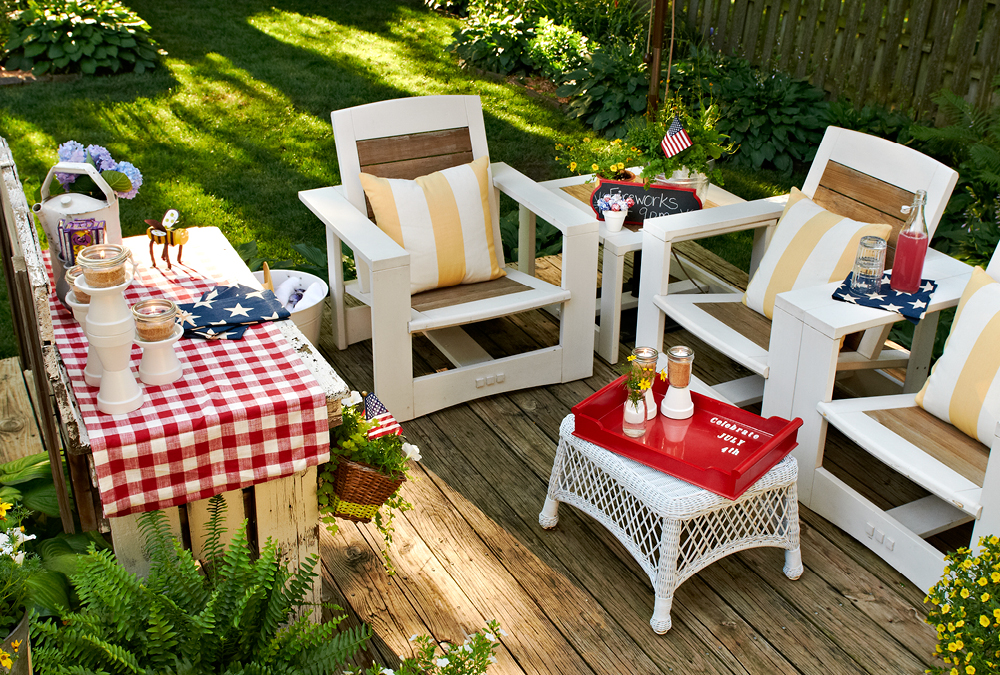
Decorative details can take your outdoor spread to the next level, but you don’t have to go far to find your inspiration. By adding a few easy-to-make DIY projects as decor elements this party space became a festive hangout for all of the guests.
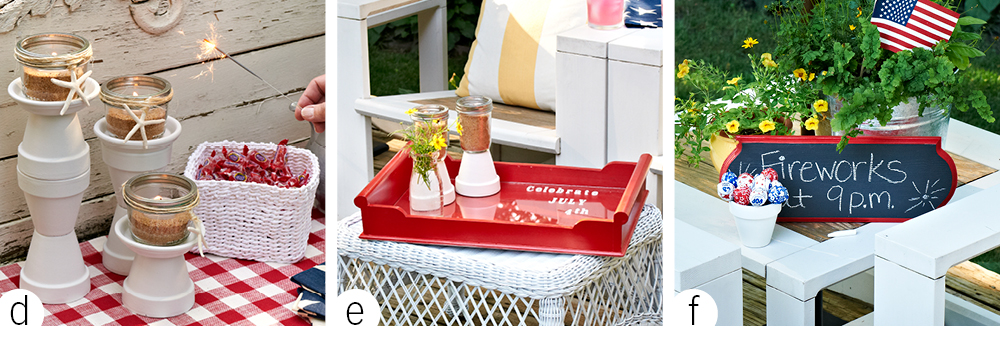
When the meal is over, use the rustic potting bench as a display table for candles, candies and sparklers (photo d). The candle stands are a variation of the terra-cotta pot serving stands that were built for the buffet, and the addition of a few candles make it easy for your party to transition into the night.
In the seating area, we used a red serving tray to hold additional candles (photo e). The tray was primed and painted, and when it was completely dry, we attached a fun foam-sticker message before inserting a piece of glass. To finish the space, we used a wood plaque from the craft store as a clever chalkboard sign (photo f).


