03/05/14, by Cate Seiser
DIY Projects
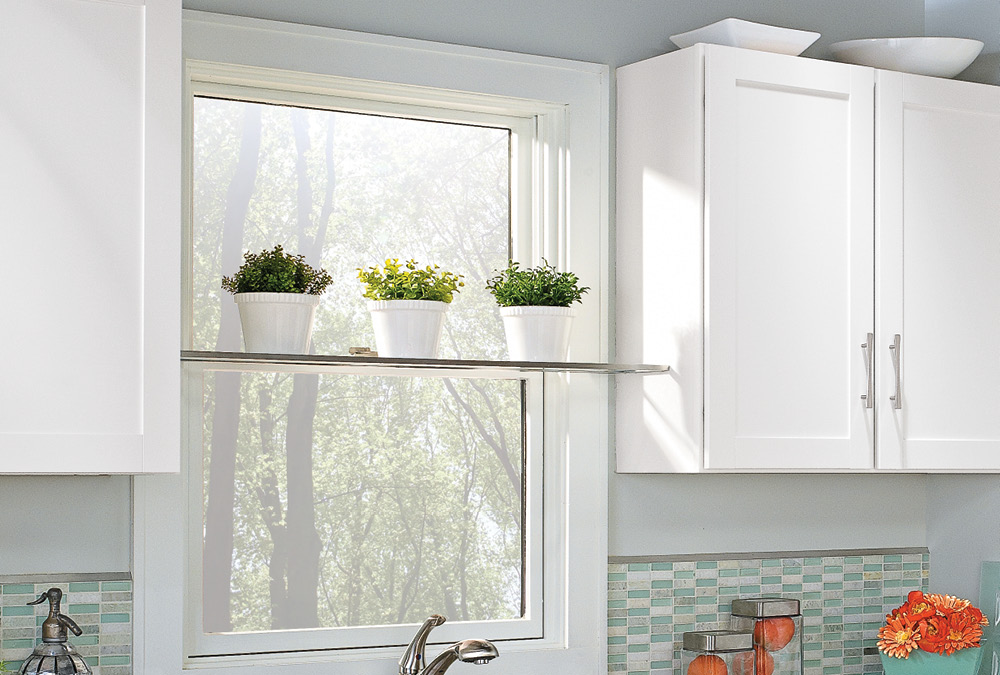
A window over the sink is standard issue in many kitchens. We decided to improve the view by installing a glass shelf that holds a few small potted plants in this space. The glass doesn't block light or create shadows, and the lightweight pieces of metal used to support and strengthen it add a sleek look.
To create a shelf like this in your kitchen, you'll need to have a glass shop cut a 6"-wide piece of 1/4"-thick plate glass for you. Measure between your cabinets and subtract 3/8" to determine the length. Also swing by the home center to pick up some 1/4" aluminum trim channel — it has a "C" shape that wraps nicely around the edge of the glass.
Ready to get started? Follow the steps below to install your shelf.

1) Use a hack saw to cut two pieces of aluminum channel for shelf supports (51/8" for our 6"-wide shelf), and drill holes about 1/2" from each end for mounting screws. Then lay out the location of the shelf supports on the sides of your cabinets using a level and tape measure, and mark your screw holes.
2) Drill 3/32" holes in your cabinets at those marks to accept mounting screws. Be careful not to drill all the way through the cabinet sides.
3) Drive in #6 x 1/2" sheet metal screws to secure the front of each shelf support. Leave the back screws out for now.
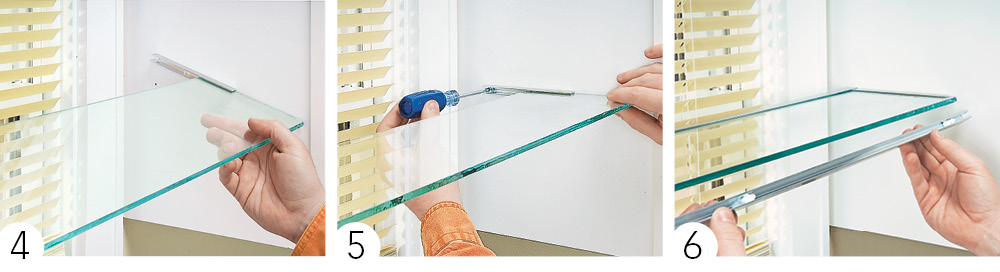
4) Now you're ready to slide in the glass. You'll need to insert it into the supports at an angle to clear the lip on the front of the cabinets.
5) Tilt the shelf supports down into their final position. With the glass pulled forward (hold onto it!), drive in the rear mounting screws.
6) Finally, cut two pieces of channel that match the distance between the cabinets to serve as front and back edging for the shelf. Attach the edging to the glass using small dabs of construction adhesive.


