02/07/14, by Kristen Smith
DIY Projects
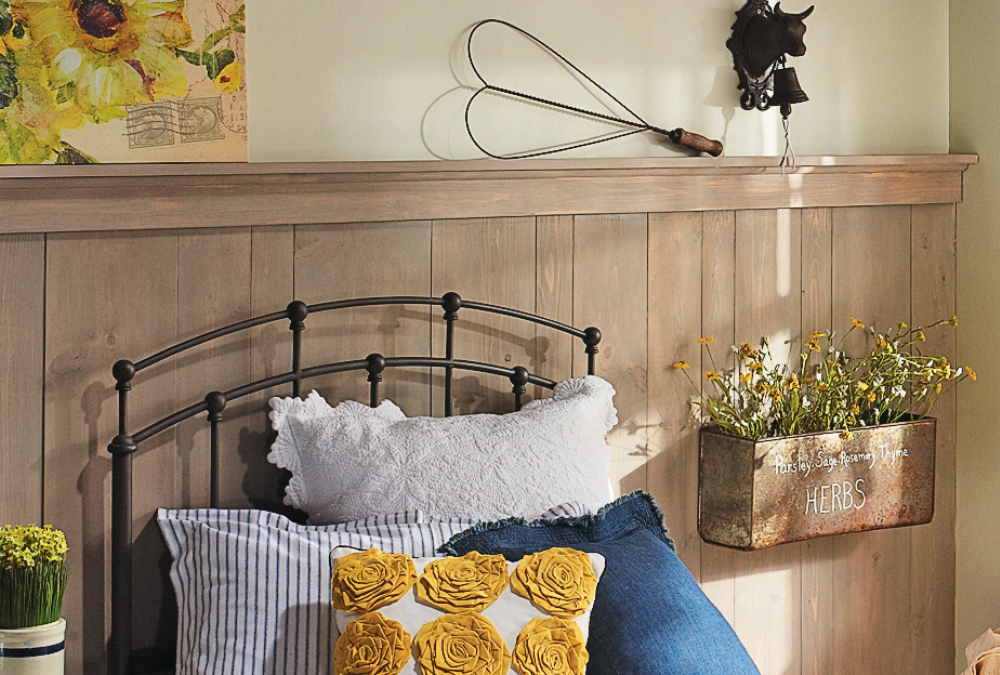
This is an easy-to-build project that makes a huge statement. You only need a few materials — vertical boards that have the same thickness but varying widths, molding, construction adhesive, and painting supplies — and a space on your wall that needs filling.
To achieve the timeworn look you see above, you'll use an easy painting technique, which we show you how to do step-by-step in this week's eNote. Simply apply the paint to the boards, rub the paint in using a dry cloth, then sand the boards to even out the finish.
Mounting the treatment is as easy as adhering the boards to the wall, nailing the baseboard and top rail in place, and attaching the top cap and molding.
You can personalize this project by using whatever wood you prefer, applying your choice of paint or stain, and arranging the various boards in any order you like. In the end, this rustic wall treatment will add personality and interest to whatever room you decide to put it in.


