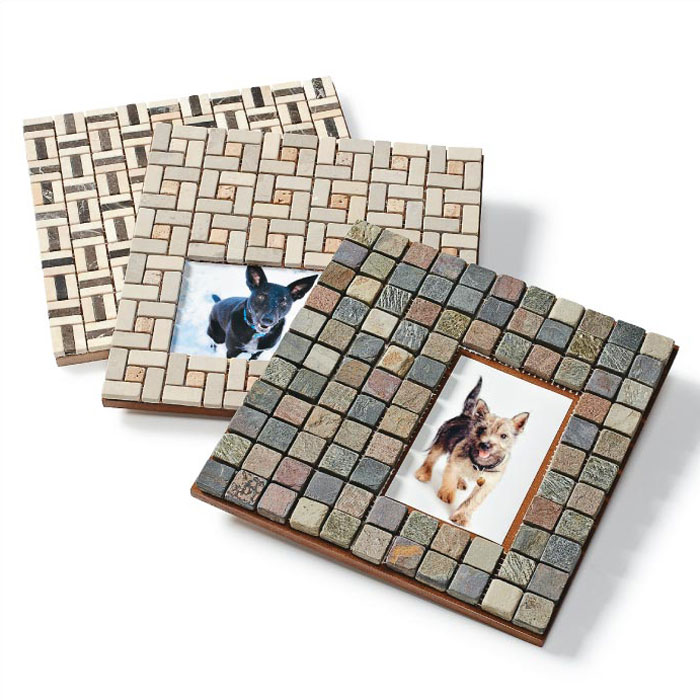
Beautiful mosaic tiles are well suited for uses beyond the kitchen. Here, we turned mesh-mounted sheets of tiles into stylish wall frames.
Each wall frame requires a piece of ½"-thick MDF as a backer for the tiles and the photo. Start by cutting the MDF to size — we made our backers equal to one or two full sheets of tile. Then spray a clear coat onto the MDF.
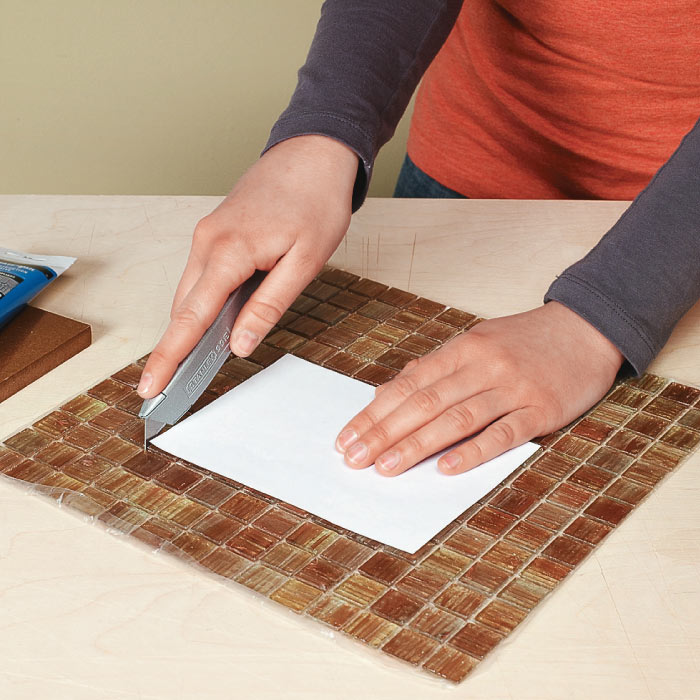
Next, determine the size and location of the photo (or photos) you plan to display. Cut out the tiles in that area with a utility knife.
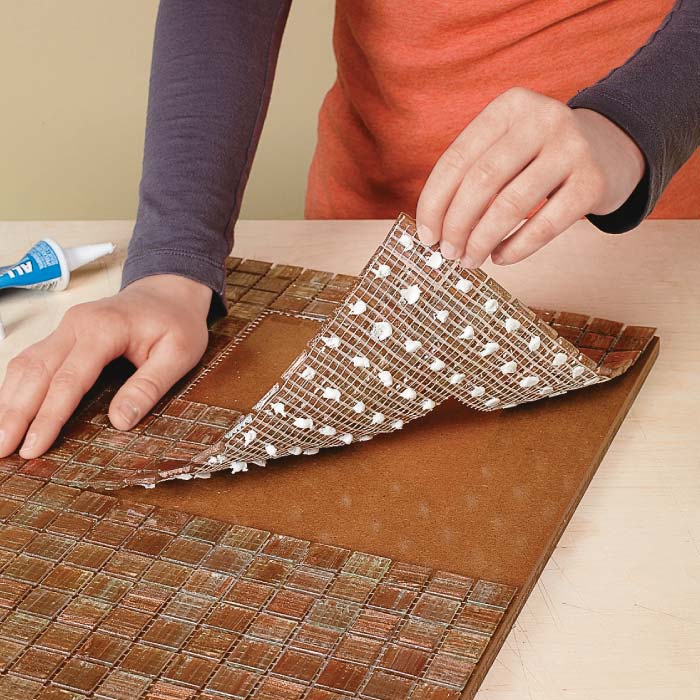
Apply a small dab of construction adhesive to each tile. Then flip the sheet over, and press it firmly onto the MDF backer.
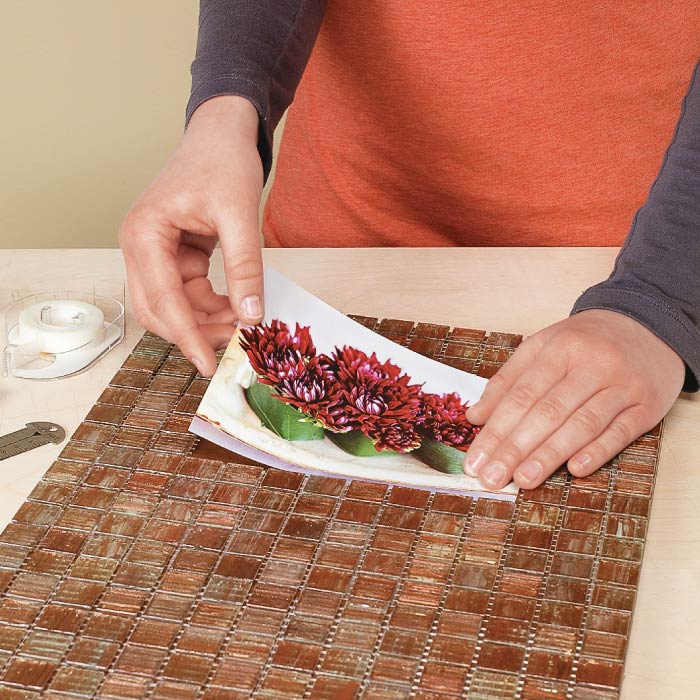
To secure your photo in the opening, we recommend simply using photo-safe tape.
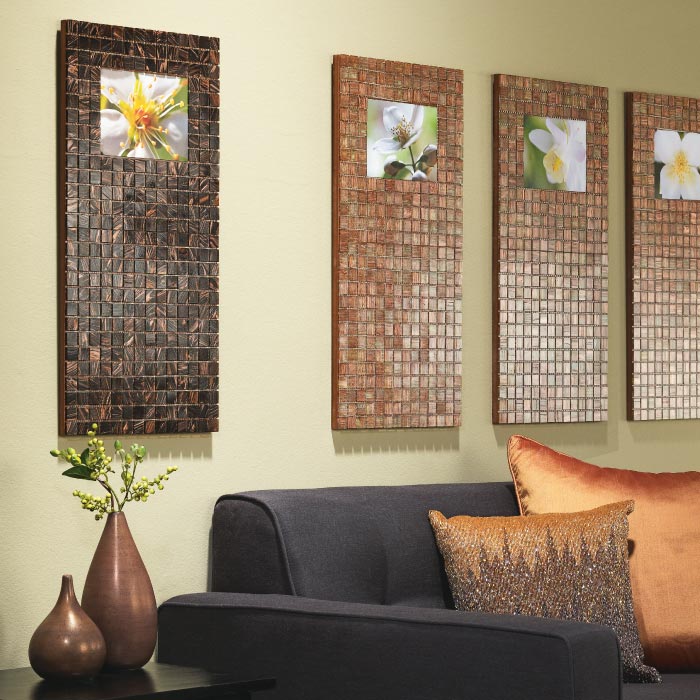
Finally, it’s time to hang your picture frame. We mounted each of ours to the wall with heavy-duty sawtooth hangers.


